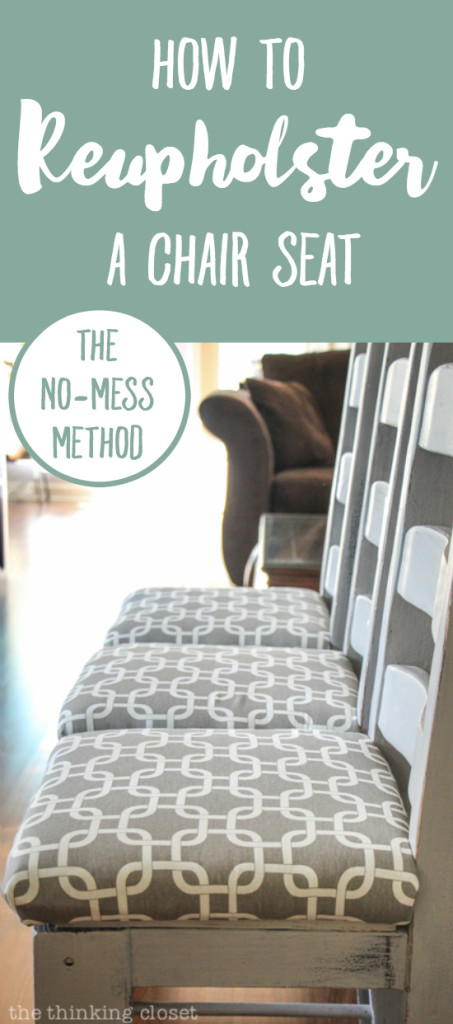
How To Cover Dining Room Chair Cushions
How To Cover Dining Room Chair Cushions
Alrighty, friends. I'm going to be 100% honest with you.
I had initially planned to title this blog post, "How to Reupholster a Chair Seat…the Easy Way." Though after actually tackling this DIY project, I couldn't in good conscious call iteasy.It took an an entire afternoon, two sets of hands, and lots of sweat. (And all that was after six months of procrastination.)
That said, here's what I will say:
- It's totally do-able. Especially with a buddy.
- I think our method iseasierthan other methods.
- It's also a "no-mess" method.
- And I'm still glad we did it.
As is my bent, I will be sure to give you all the nitty gritty details of our no-mess method, as well as the tips and tricks we learned along the way. That way, you'll feel confident to stop procrastinating yourchair reupholstery project and tackle it once and for all. You've got this!
Every Chair Has a Story
Mark and I purchased a set of 6 black dining chairs on Craigslist a few years ago. You may recall them from a certain story called "The Old Chair, The New Chair, & The Girl," that I shared on this blog once upon a time:
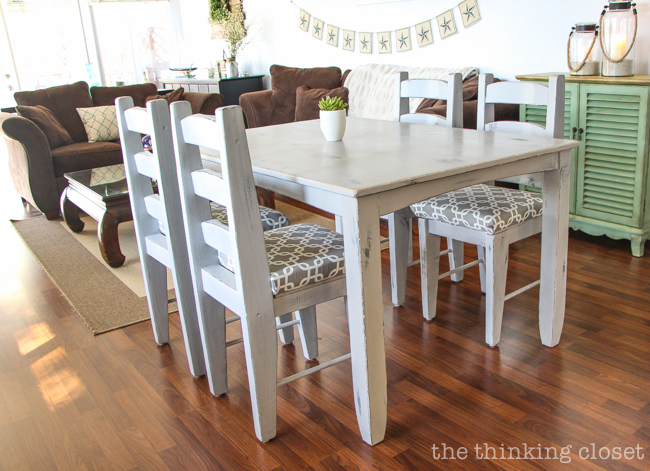
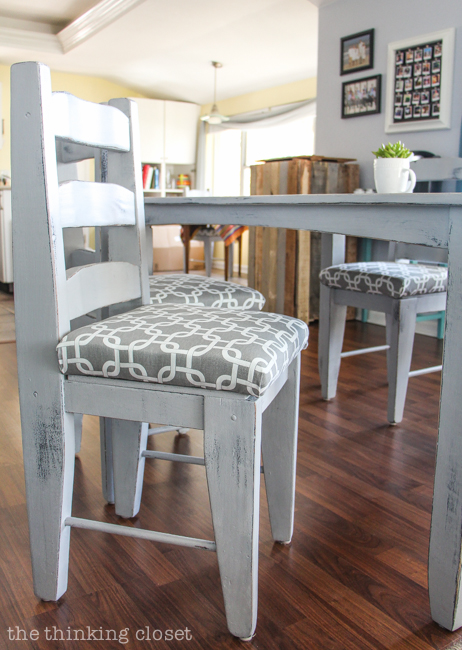
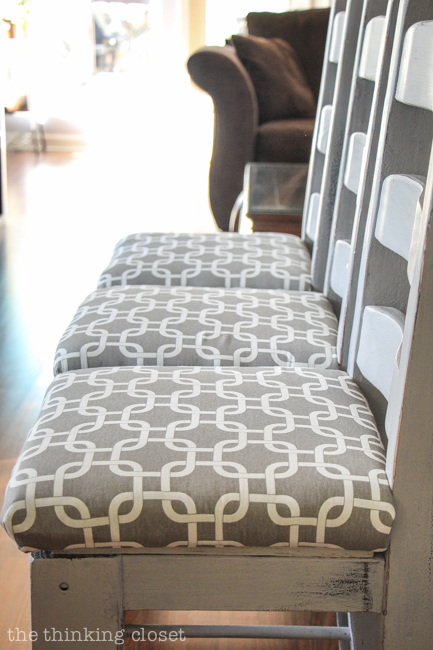
When we refinished our table and chairs with Annie Sloan Chalk Paint in Paris Grey this past summer, the tan cushions no longer matched. Also, the padding on the chairs was thinner than we liked. So, we decided our reupholstery project would involve both a change in fabric andcushion thickness. After all, we wanted to make these nifty chairs as comfy as could be for our derrières.
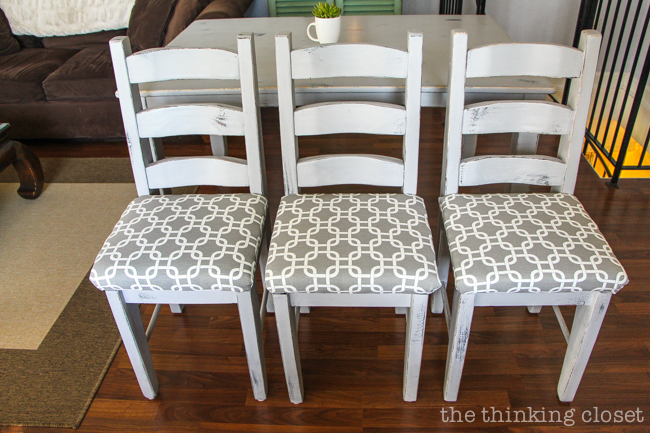
And voila! Here's the "after"! Aren't they purdy?
No-Mess Method
Now, the best part about the tutorial I'm about to walk you through is that it does not involve the headache and mess that comes with most reupholstering projects.
Why?
Well, our chair seats were so thin that we decided to simply add a new cushion and new fabric atop of the existing seat and recover from there! Thus, we avoided having to remove rusty, gnarly staples and layers of old fabric and batting.
So, if your existing cushion is just right or too thin like ours was, consider it a blessing in disguise! Because the no-mess method really does eliminate the most grueling steps of a typical reupholstery project. And I'm all about workingsmarter, not harder. Can I get an "Amen"?
Supplies
- existing chair seats
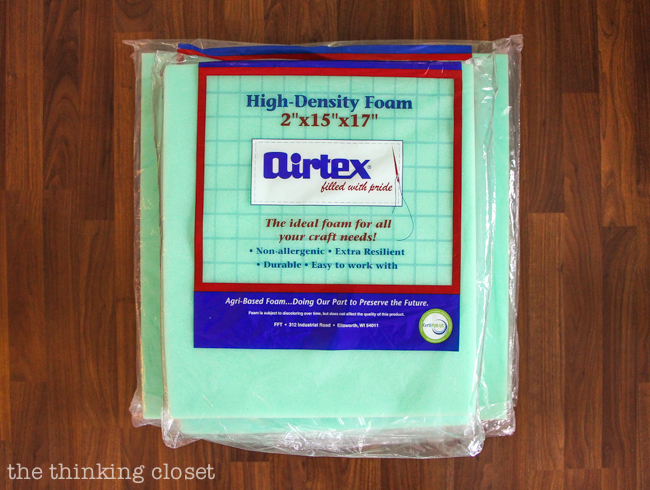
- *2″ high-density foam
- fabric
- sharpie
- bread knife (or rotary cutter, electric carving knife, Xacto razor saw)
- staple gun
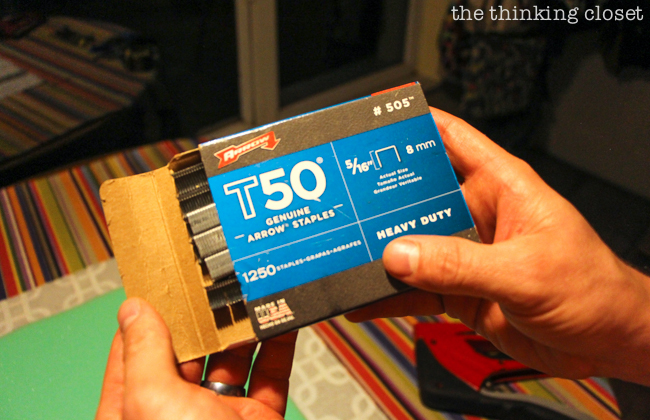
- staples
- drill
- yardstick
Tutorial
Step 1. Remove your seat from the chair.
First things first, you'll want to flip your chair upside-down (on a sturdy table for support), and use your screwdriver or drill to remove the screws that connect the seat to the chair. Every chair will look different here, but I trust you'll crack the case!
Step 2. Gather your supplies.
Visit your local craft store to purchase foam and fabric. From all my research of other reupholstery tutorials, 2″ high-density foam seemed to be the group's consensus on what works best. So, I stocked up!
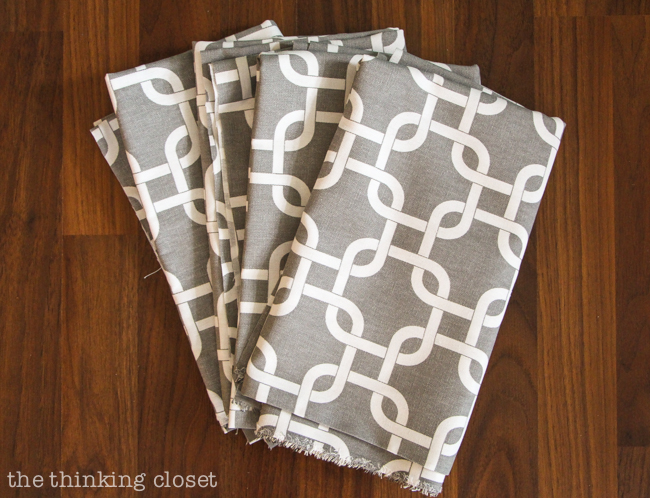
Mark and I also picked out some nautical-inspired fabric in the home decor fabrics section that we really love. Though I fully recognize that we will soon have a wild-eyed baby in our midsts, and when she enters the inevitable food-slinging phase, we may regret our decision in choosing a lighter fabric with so much white in it.
But you know us. We're suckers for a luscious nautical-pattern!
If you already have food-slinging children in your midsts (or perhaps food-slinging adults), you may want to opt for a dark fabric or even a water-resistant one. Or you can live on the edge like we do!
TIP #1: While shopping, bring along a paint stick with the exact color of your chairs to help you purchase coordinating fabric. I made the error of trusting my memory, and the first batch of fabric I bought was way too warm in tone for our cooler gray. Lesson learned!
TIP #2 for the Type As: We didn't realize this until after the fact, but if you look closely, the green of the foam does peek through the white sections of our fabric a bit. It's not very noticeable, but definitely something to keep in mind if you are wanting a crisp white vs. a duller white.
Step 3. Cut your fabric.
We actually had a really helpful employee at Hobby Lobby who helped pre-cut our fabric into squares for us, so if you know what dimensions you'd like to work with in advance, that's an option. We were working with the end of the bolt (2 2/3 yards), so we hadjust enoughfor 6 squares, plus 2 extra if when we need to re-do a few chairs down the line. If we had more fabric to work with, I would have given ourselves even more margin around the edges. It's always easier to trim down than try to stretch it when you're in the staple phase.
Step 4. Cut your foam.
Since we opted for a "no-mess method," we planned to simply layer the foam atop our existing seat-and-cushion. So, we cut our new foam pieces slightly larger than our original seats–one extra inch wide and tall. That meant that with our original seat measuring 14 x 15 3/8″, we marked the foam with a sharpie so it measured 15 x 16 1/8″.
Then, we busted out the Cutco bread knife, which actually cut through the foam fairly easily. A rotary cutter, electric carving knife, or Xacto razor saw should work for you, as well.
Mark really perfected this step and had a few tips to offer you all:
TIP #3: Get in a good position first so you can attempt to cut your foam in one clean motion (not little bits at a time), cutting all the way through to the other side at a slight angle.
TIP #4: Use a box to help you keep your knife straight up and down. Just hang over the edge the exact amount of foam you are going to cut. The box will help keep your knife in a straight up and down position.

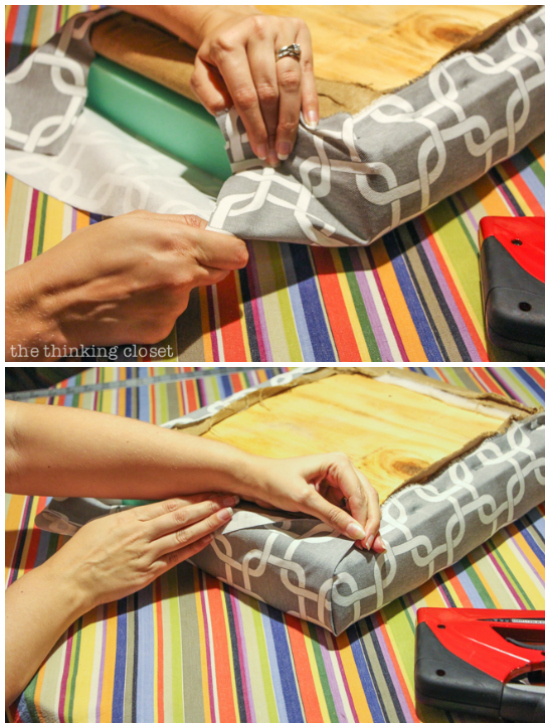
Step 5. Staple down your fabric.
Here's where it really does take two to pull this off, so if you haven't done so already, grab a pal or passerby along with your trusty staple gun…
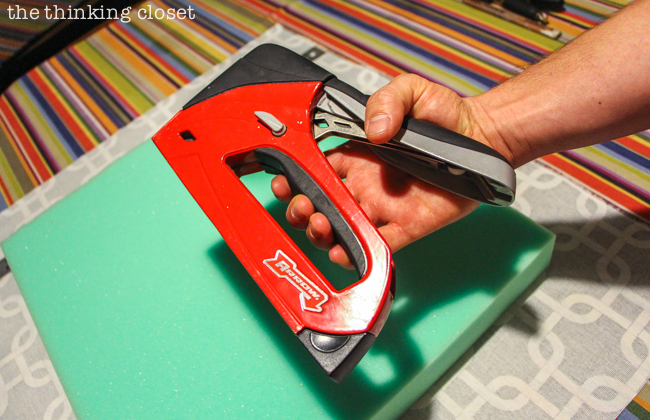
…pre-loaded with ammunition!
Okay, so generally, there are two different methods when it comes to securing the fabric around the edges:
- the pleating method, best for rounded edges (demonstrated HERE and HERE)
- the folding method, best for square-edges (which we did)
I thought I'd like the look of the pleating method best, but truth be told, I found it just too challenging to pull off with square-edged seats. Ultimately, folding just worked better for us, and we both were pleased with the clean, finished look.
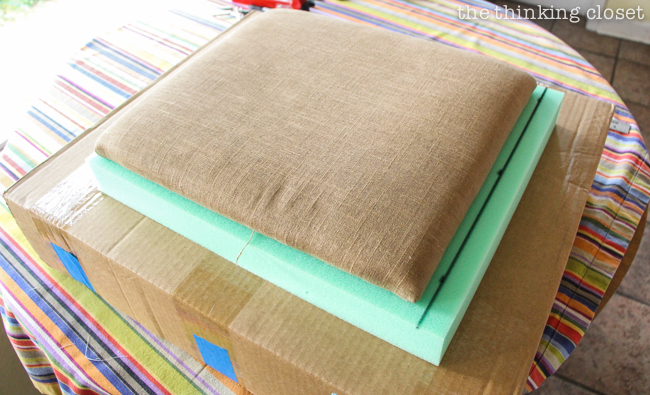
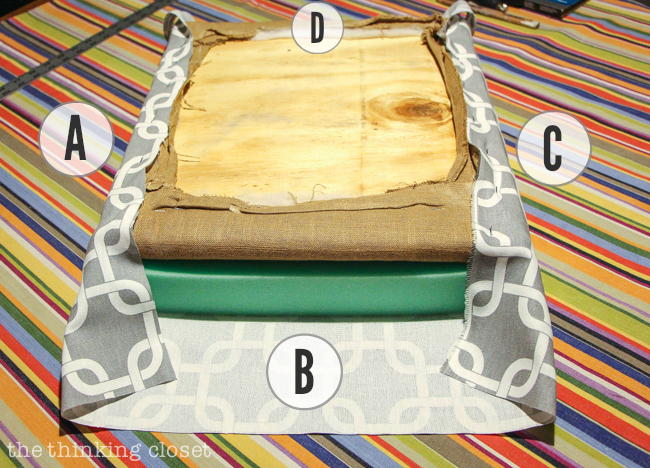
To start, we laid out our fabric, then centered atop it our foam followed by our original chair seat (making sure everything was "wrong-side" up). I used my yardstick to center it all as best I could.
This is perhaps the most important part: I didn't want the three layers to shift too much in the stapling, so I firmly planted my forearms down on the center of the seat while I stretched over the fabric on side A in order to secure it. Here's where I started to break a sweat because I pulled it fairly taut before Mark started planting his staples. We started in the middle and worked to the sides, a few inches in between each of the staples.
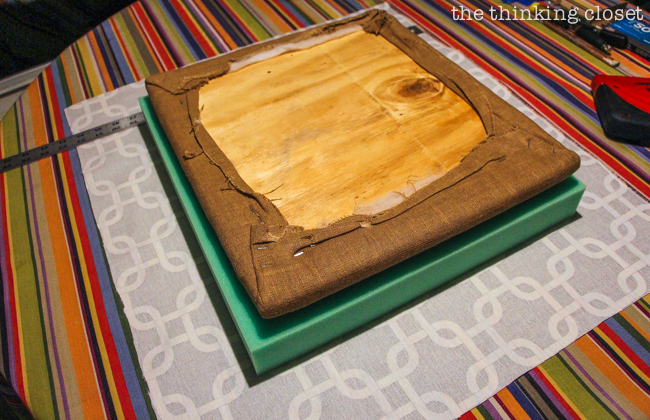
Remember, the under-side of your seat doesn't have to look too pretty, but the more methodical you can be in your approach, the more uniform the finished cushions will look.
As we streamlined our approach, here was the order we followed for each of the 6 chair seats:
- staple down side A (center to ends)
- staple down the opposite side, side C (center to ends)
- staple down side B, one edge to the other, folding it like a package; cutting excess fabric if needed.
- repeat step 3 for side D
- fill in the gaps with even more staples
TIP #5: Pull the fabric more taut than you think you need to because over time, the threads of the fabric will loosen, and you want the cushion to remain taut when the weight of a person is sitting on it. It may appear as though the fabric is puckering, but when you go back in to add more staples, most of the puckers will vanish.
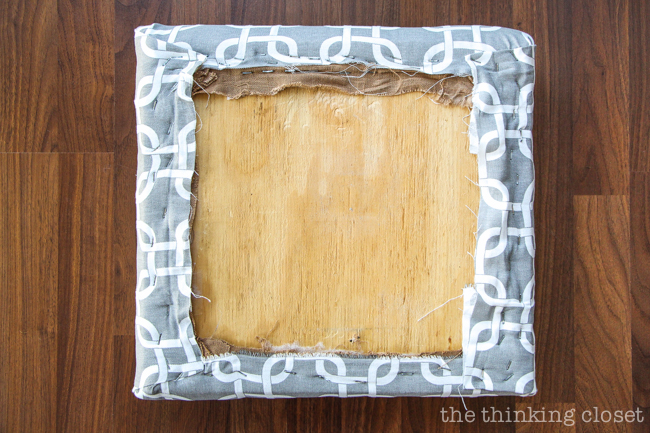
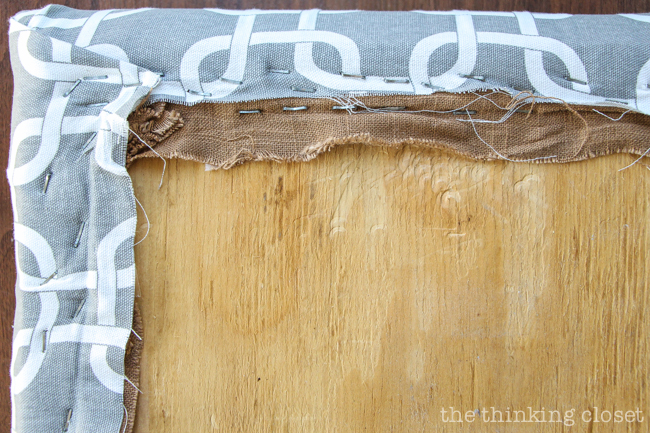
TIP #6: When it comes to folding those edges, I recommend just working slowly and aiming for smooth, clean edges. Be consistent in how you fold. For us, sides B and D were always on top of the fabric while sides A and C were always buried underneath.
Step 6. Reattach your newly reupholstered seats to your chairs.
And now you're ready to flip that chair upside-down on the table again, grab your drill and screws from step 1, and reassemble your chair with its newly reupholstered seat cushion. Then, cue the happy dance!
Photo Sesh
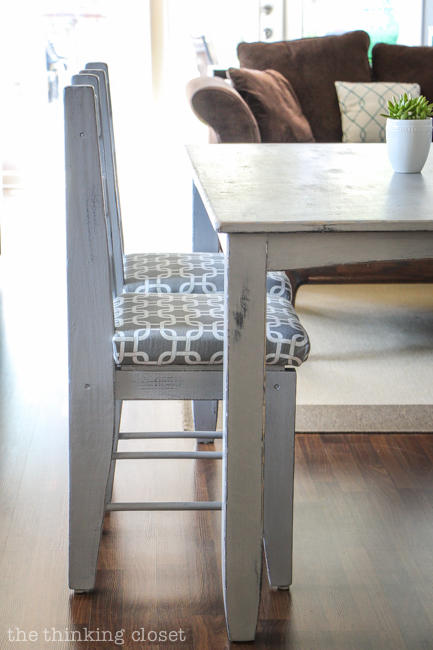
We've been enjoying these cushy, reupholstered chairs for a few months now. Not only is mealtime more delightful, but so are game nights, Bible Journaling sessions, and blog post writing.
In fact, now you know where to picture me as I plunk out my tutorials on the laptop for y'all.
Ready to "oooh" and "ahhh" along with me?
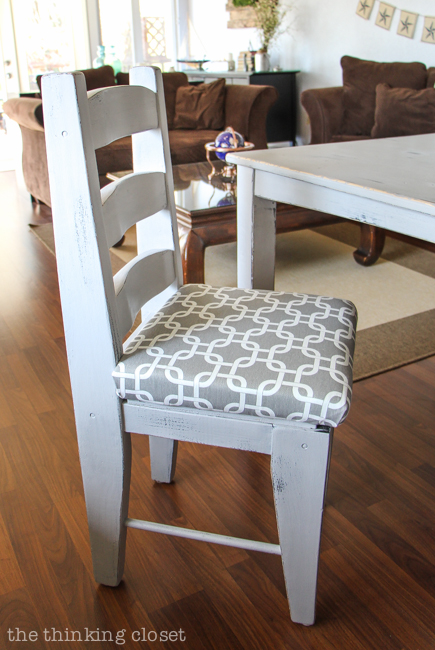
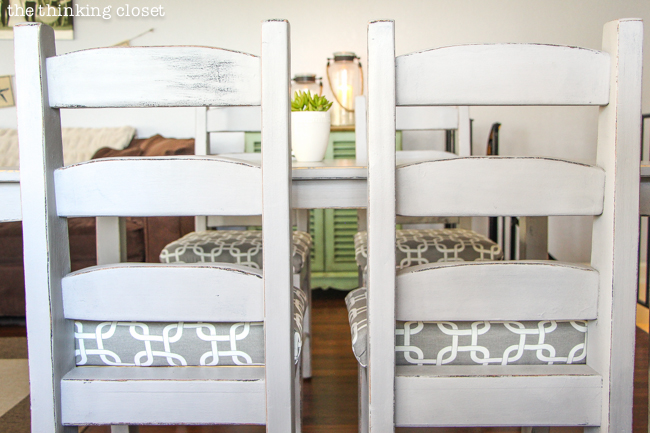
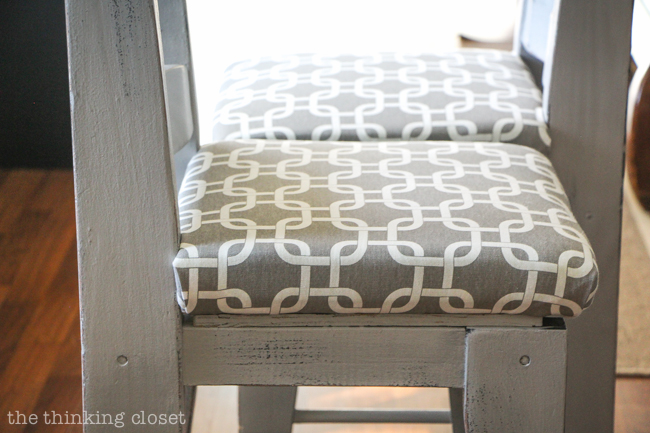
Now, doesn't this cushy-chair look inviting?


To Close
I hope this wordy wonder of a tutorial helps empower even just one of you to finally transform that chair that has been bumming you out {pun-intended}.
And for those of you who are reupholstery masters already, feel free to chime in below in the comments with your tips and tricks. That way, we can all learn from each other! That's how we do here at The Thinking Closet.
Have a fantasmagorical rest of your weekend, friends.
![]()
*Full Disclosure: This post contains affiliate links, meaning that if you make a purchase after clicking through, The Thinking Closet may receive a small commission at no extra cost to you. Thanks for helping to support this site!
How To Cover Dining Room Chair Cushions
Source: https://www.thinkingcloset.com/2016/02/28/how-to-reupholster-a-chair-seat-the-no-mess-method/


Leave a Comment